Jupyter Notebook은 ML개발에 거의 표준이 되어 있는 듯하다. Jupyter 자체만으로도 거의 완벽하지만, 많은 Extension들은 이용을 더욱 편리하게 해 준다. Git의 내용을 터미널이 아닌 Notebook에서 바로 Clone해서 Commit까지 해줄 수 있는 Jupyter Lab Git Extension도 그런 도구 중에 하나다. 아래에서 자세한 설명을 볼 수 있다.
jupyterlab/jupyterlab-git
A Git extension for JupyterLab. Contribute to jupyterlab/jupyterlab-git development by creating an account on GitHub.
github.com
Git Extension을 설치하기 위해서는 기본적으로 Node.js를 설치해야 한다. 지난 포스팅에도 이야기했지만 node.js 설치는 아주 간단하다.
// 노드 버전 매니저 다운로드
$ curl https://raw.githubusercontent.com/creationix/nvm/v0.30.2/install.sh | bash

// 쉘 다시 시작
$ source ~/.bash_profile

// node.js 설치
$ nvm install stable
주의할 점은 node.js의 실행 경로를 PATH안에 넣어 두어야 한다.
export PATH = $PATH:/Users/xxxxx/.nvm/versions/node/v14.4.0/bin

// jupyter-labextension의 위치가 PATH로 안 잡혀 있다면 추가
export PATH = $PATH:/Users/xxxxx/Library/Python/3.7/bin
Git Extension 설치는 Notebook의 UI를 통해서도 할 수 있지만, 터미널에서 아래를 입력하면 된다.
pip install --upgrade jupyterlab-git
jupyter lab build
설치여부는 아래와 걑이 확인 가능하다.
% jupyter labextension list
JupyterLab v2.1.4
Known labextensions:
   app dir: /Users/ksryu/Library/Python/3.7/share/jupyter/lab
        @jupyterlab/git v0.20.0  enabled  OK
문서 설명에는 위와 같이 하는 것으로 충분하다고 되어 있지만, 내가 실행할 때는 server extension이 설치되어 있지 않다고 나왔다.
server extension에 아래와 같이 설치해 두었다.
pip install . e
jupyter serverextension enable --py jupyterlab_git
아래와 같이 나와야 모든 준비가 끝난 것이다.
% jupyter serverextension list
config dir: /Library/Developer/CommandLineTools/Library/Frameworks/Python3.framework/Versions/3.7/etc/jupyter
    jupyterlab_git  enabled
    - Validating...
      jupyterlab_git 0.20.0 OK
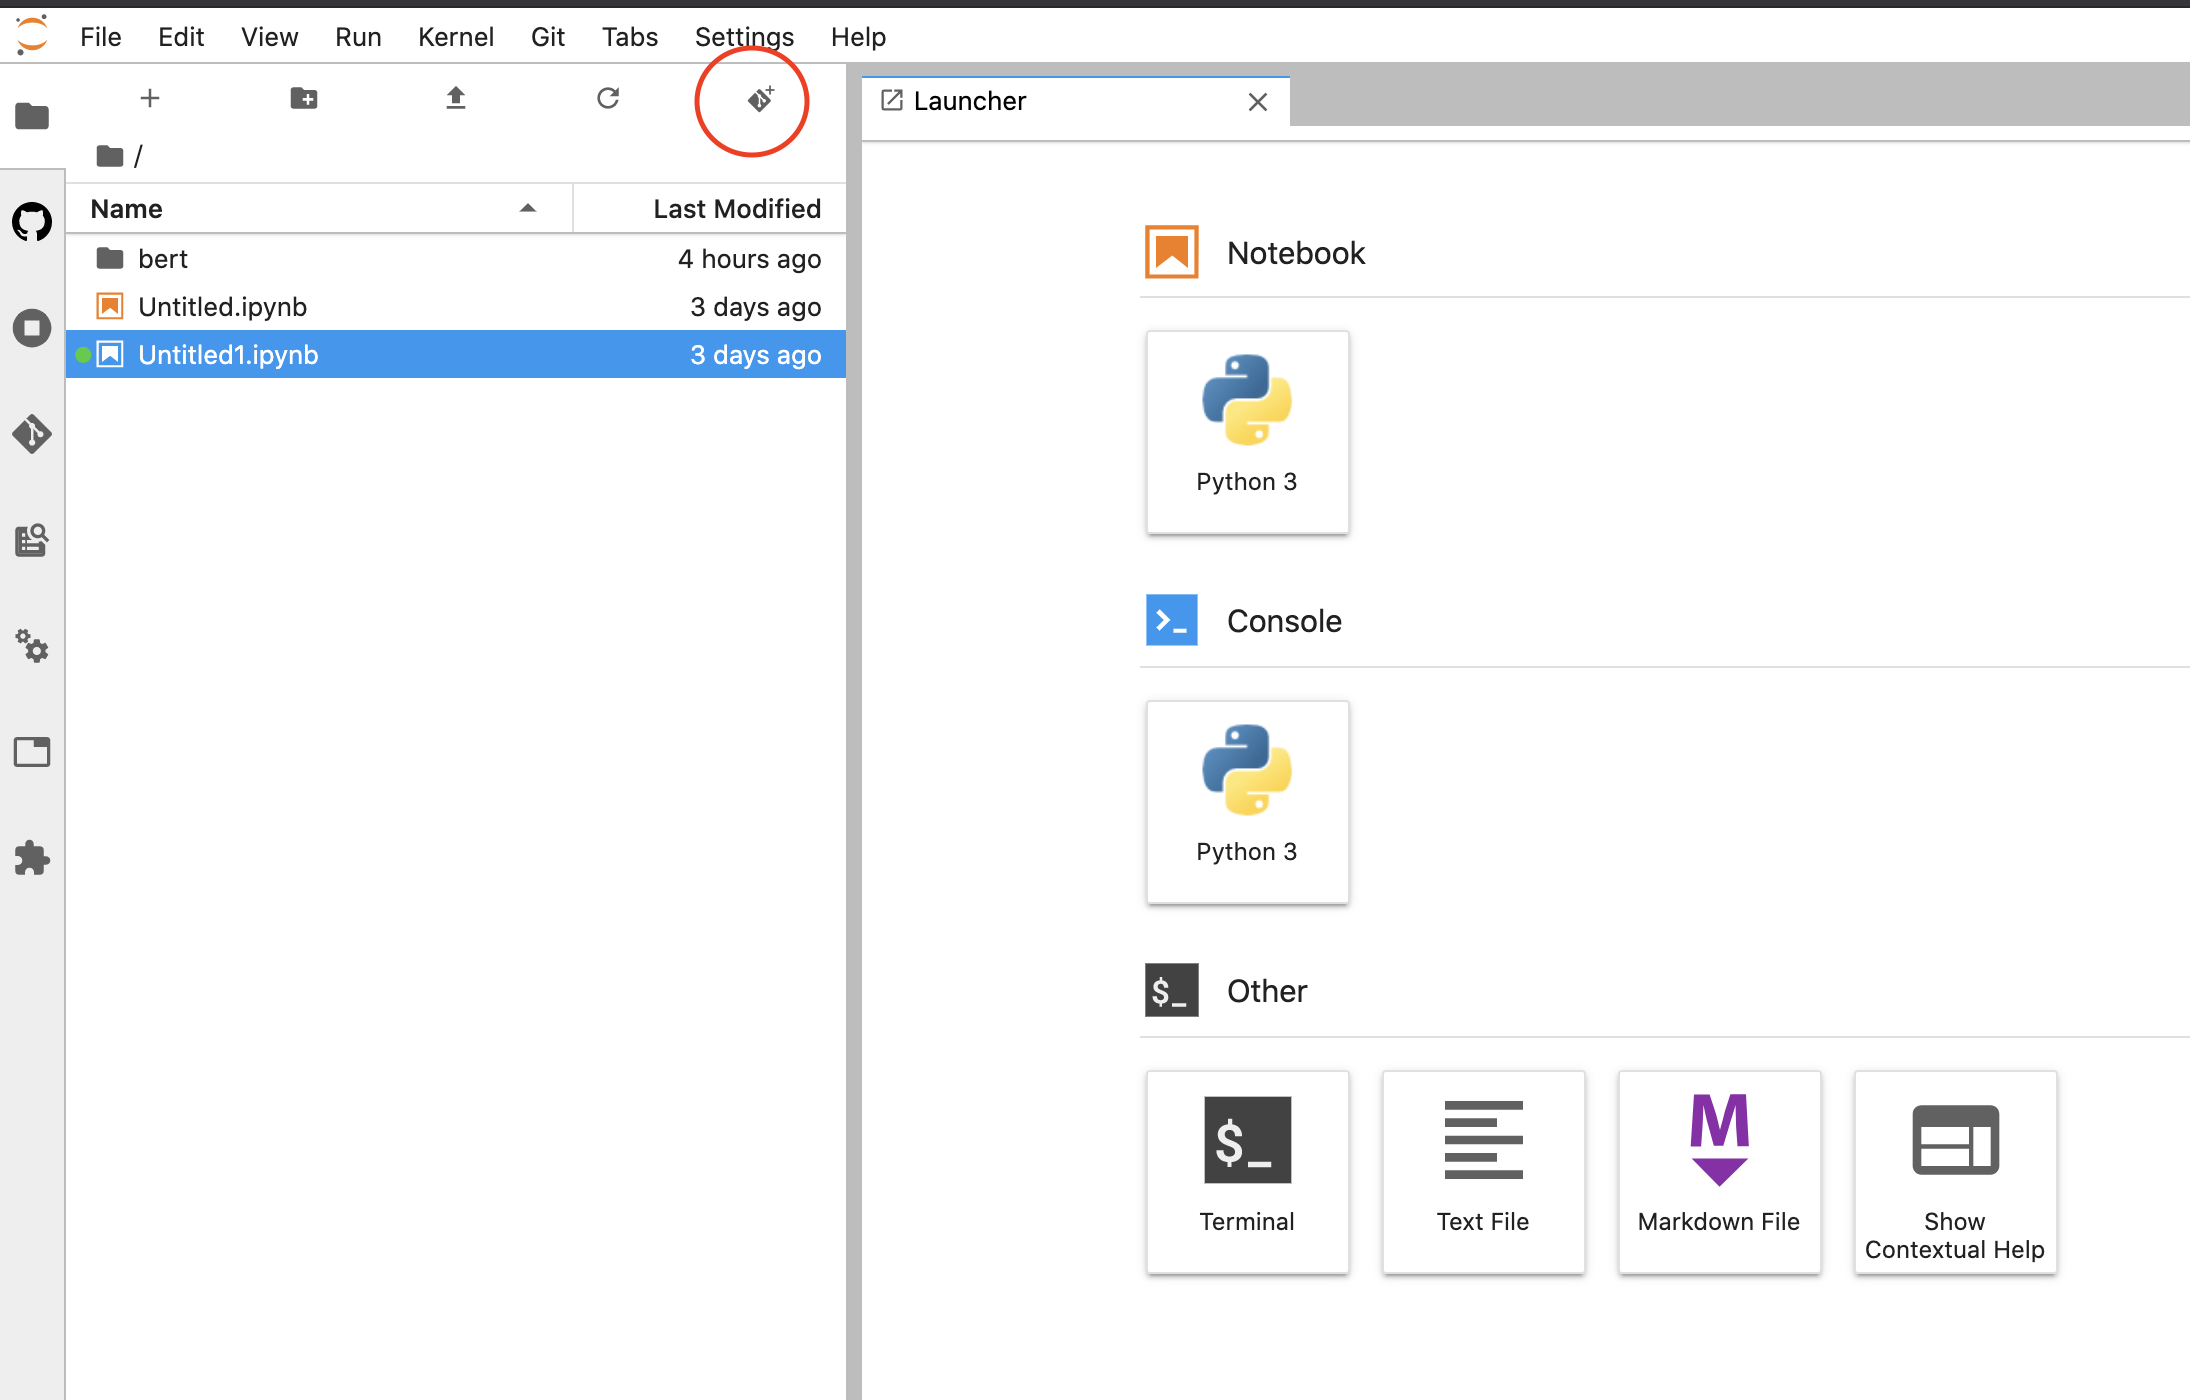
이제 jupyter lab을 실행해 보면... Git주소를 입력하도록 아이콘이 생성되어 있다.
Google이 공개한 COVID-19 데이터 repository를 가져와보자

아래와 같이 제대로 끌고 와서 소스를 편집할 수 있게 된다.
'AI 빅데이터 > Open Source Software' 카테고리의 다른 글
| [OSS] Katib로 Hyper Parameter Tuning 하기 (0) | 2020.06.30 |
|---|---|
| [OSS] Mac에서 Kubeflow 설치하고 테스트하기 (2) | 2020.06.29 |
| [OSS] 맥에서 쿠버네티스 테스트하기 (0) | 2020.06.18 |
| [가상화] WSL 2로 리눅스 쓰기 (0) | 2020.05.31 |
| [OSS] AutoKeras로 자동학습(AutoML) 하기 (0) | 2020.03.04 |


댓글